xboxscene.org forums

Pages: [1] 2

Author Topic: Faulty 360  (Read 225 times)

frozenballs

  • Archived User
  • Full Member
  • *
  • Posts: 105
Faulty 360
« on: August 09, 2008, 10:37:00 AM »

huh.gif when i come out of a game by pressing the guide button and then the Y the game exits but i loose video i can still hear the sound but the video is compleatly black . has anyone else had this and do you have any suggestions on how to fix it please
Logged

Wilhelm_I

  • Archived User
  • Hero Member
  • *
  • Posts: 937
Faulty 360
« Reply #1 on: August 10, 2008, 02:21:00 AM »

QUOTE(frozenballs @ Aug 9 2008, 07:13 PM) View Post

huh.gif when i come out of a game by pressing the guide button and then the Y the game exits but i loose video i can still hear the sound but the video is compleatly black . has anyone else had this and do you have any suggestions on how to fix it please

Damn use the search dude, this has literally been answered hundreds of times...
Do the X-Clamp replacement if you are out of warranty
Logged

frozenballs

  • Archived User
  • Full Member
  • *
  • Posts: 105
Faulty 360
« Reply #2 on: August 10, 2008, 04:07:00 AM »

i have done the xclamp , this is one out of many i have done thought somone could point in in the direction of what causes this exact fault maybe a dry joint somwhere etc

any how many thanks for the attitude
Logged

Wilhelm_I

  • Archived User
  • Hero Member
  • *
  • Posts: 937
Faulty 360
« Reply #3 on: August 10, 2008, 04:31:00 AM »

Will be scaler chip related then in order to fix it you will have to heatgun the area from the (H)ANA chip to the GPU.
Follow the intructions in my heagunning tutorial for that...
Logged

frozenballs

  • Archived User
  • Full Member
  • *
  • Posts: 105
Faulty 360
« Reply #4 on: August 10, 2008, 09:21:00 AM »

QUOTE(Wilhelm_I @ Aug 10 2008, 12:07 PM) View Post

Will be scaler chip related then in order to fix it you will have to heatgun the area from the (H)ANA chip to the GPU.
Follow the intructions in my heagunning tutorial for that...


ok just noticed that in your tutorial i have a heat gun here but i think its a bit to powerful i will have to see if any mates got one as regaurds to the scaler fault does this clear most e74 fults also , reflowing the solder that is . also wher i work there is a surface mount pick and place machine with oven at the end of it what component would i have to remove to send the pcb through


many thanks for reply though
Logged

Wilhelm_I

  • Archived User
  • Hero Member
  • *
  • Posts: 937
Faulty 360
« Reply #5 on: August 10, 2008, 10:43:00 AM »

QUOTE(frozenballs @ Aug 10 2008, 05:57 PM) View Post

ok just noticed that in your tutorial i have a heat gun here but i think its a bit to powerful i will have to see if any mates got one as regaurds to the scaler fault does this clear most e74 fults also , reflowing the solder that is . also wher i work there is a surface mount pick and place machine with oven at the end of it what component would i have to remove to send the pcb through
many thanks for reply though

To reflow it in there you would have to remove all buttons, connectors, large capacitors and the sensor that detects if the 360 is in vertical or horizontal position(is the thing near the eject button, it makes a noise when you shake the 360)

Just some general knowledge.
0022 is a bridged solder joint in this area and E74(1022) is a cold solder joint...

If there are anymore components that might melt/blow in there dont hesitate to correct me...
Logged

frozenballs

  • Archived User
  • Full Member
  • *
  • Posts: 105
Faulty 360
« Reply #6 on: August 10, 2008, 03:55:00 PM »

no that seems like way to much trouble removing all of that off a pcb will have a go at heatgunning if i can get hold of one tomorrow

thanks again
Logged

frozenballs

  • Archived User
  • Full Member
  • *
  • Posts: 105
Faulty 360
« Reply #7 on: August 11, 2008, 02:00:00 PM »

ok i heatgunned this pcb today looked nice you could see all of the solder turn to liquid ( got a large magnifying glass on my work station ) none of the caps expanded , was very carful lots of insulation ( very thick foil backed with bubble wrap . think its for pipe lagging ) . however upon putting it back together i had a 3 rrod and a code of 020 no listing for that fault so i took it back apart had a play around with different size and types of washer and now all i am getting is a fault code 010 power supplie . i think i need to give up on this one . first one to beat me in about 30  dry.gif
Logged

Wilhelm_I

  • Archived User
  • Hero Member
  • *
  • Posts: 937
Faulty 360
« Reply #8 on: August 11, 2008, 02:55:00 PM »

QUOTE(frozenballs @ Aug 11 2008, 10:36 PM) View Post

ok i heatgunned this pcb today looked nice you could see all of the solder turn to liquid ( got a large magnifying glass on my work station ) none of the caps expanded , was very carful lots of insulation ( very thick foil backed with bubble wrap . think its for pipe lagging ) . however upon putting it back together i had a 3 rrod and a code of 020 no listing for that fault so i took it back apart had a play around with different size and types of washer and now all i am getting is a fault code 010 power supplie . i think i need to give up on this one . first one to beat me in about 30  dry.gif

hmmm
There is something wrong with your error codes.
Do you mean 0020?
This one is a bridged solder joint and occurs when you overtighten the screws, just loosen them a bit.
0010 is pretty rare so I guess you mean 0001 which is indeed a power problem with the main power lin(missing capacitor or a short circuit).
Since you tried different washers I assume the GPU heatsink is flexing too much and shorting out which happens when you dont use enough washers.
Make sure you are either using 2 washers with a thickness of 1mm or 1 washer with 2mm thickness
Logged

frozenballs

  • Archived User
  • Full Member
  • *
  • Posts: 105
Faulty 360
« Reply #9 on: August 11, 2008, 03:53:00 PM »

QUOTE(Wilhelm_I @ Aug 11 2008, 10:31 PM) View Post

hmmm
There is something wrong with your error codes.
Do you mean 0020?
This one is a bridged solder joint and occurs when you overtighten the screws, just loosen them a bit.
0010 is pretty rare so I guess you mean 0001 which is indeed a power problem with the main power lin(missing capacitor or a short circuit).
Since you tried different washers I assume the GPU heatsink is flexing too much and shorting out which happens when you dont use enough washers.
Make sure you are either using 2 washers with a thickness of 1mm or 1 washer with 2mm thickness


oyep my bad sorry it was 001 i think it may be shorting because the first time i bolted back together when i got the 0020 it wqas in a pcb rack where noy im getting the 0001 it is in the chassis si i guess somthing is touching
Logged

frozenballs

  • Archived User
  • Full Member
  • *
  • Posts: 105
Faulty 360
« Reply #10 on: August 14, 2008, 11:07:00 AM »

definatly 0020 not over tighned maybee this board is shafted i thought it might of bee the way i heatgunned it but i have also recently heatgunned two other boards with thw 0102 fault and they now work fine  mad.gif
Logged

Wilhelm_I

  • Archived User
  • Hero Member
  • *
  • Posts: 937
Faulty 360
« Reply #11 on: August 14, 2008, 11:29:00 AM »

QUOTE(frozenballs @ Aug 12 2008, 12:29 AM) View Post

oyep my bad sorry it was 001 i think it may be shorting because the first time i bolted back together when i got the 0020 it wqas in a pcb rack where noy im getting the 0001 it is in the chassis si i guess somthing is touching

First of all learn to spell and take your time to create a proper reply because this is hard to read and you said 001 again which is obviously nothing!!!

QUOTE(frozenballs @ Aug 14 2008, 07:43 PM) View Post

definatly 0020 not over tighned maybee this board is shafted i thought it might of bee the way i heatgunned it but i have also recently heatgunned two other boards with thw 0102 fault and they now work fine  mad.gif

Same here rolleyes.gif
0020 can be "over tightened", in general it is a bridged solder ball in the CPU/GPU/RAM area....

Also give some more information which X-Clamp Fix you used how many washers at all, where, if you drilled holes etc...
Logged

frozenballs

  • Archived User
  • Full Member
  • *
  • Posts: 105
Faulty 360
« Reply #12 on: August 14, 2008, 03:04:00 PM »

QUOTE(Wilhelm_I @ Aug 14 2008, 07:05 PM) View Post

First of all learn to spell and take your time to create a proper reply because this is hard to read and you said 001 again which is obviously nothing!!!
Same here rolleyes.gif
0020 can be "over tightened", in general it is a bridged solder ball in the CPU/GPU/RAM area....

Also give some more information which X-Clamp Fix you used how many washers at all, where, if you drilled holes etc...


ok my gramma does suck though and my wireless keyboard drops letters from time to time . . Can a bridged solder ball be corrected ? the fault code i was refering to earlier in the thread was 0001 but i was only getting it whilst the pcb was in the chassis so i removed it and put the pcb in one of the pcb racks i have and i keep getting the 0020 code

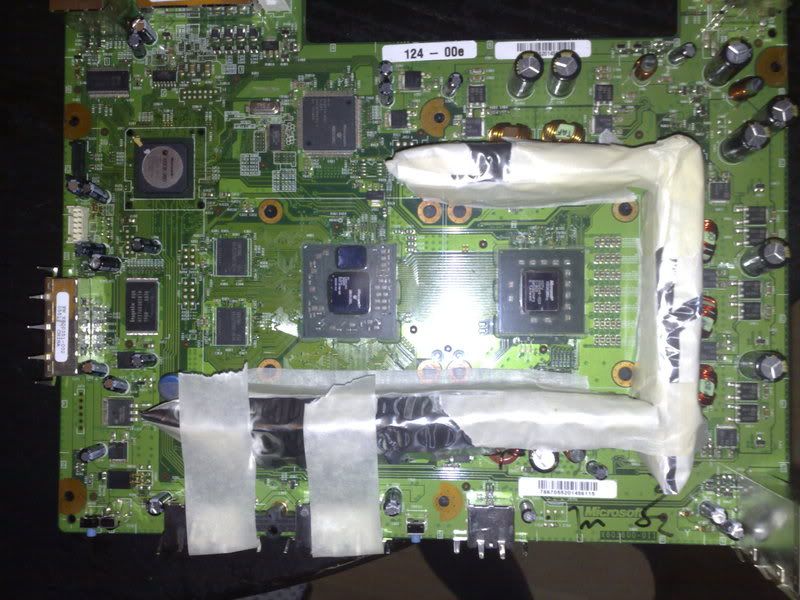
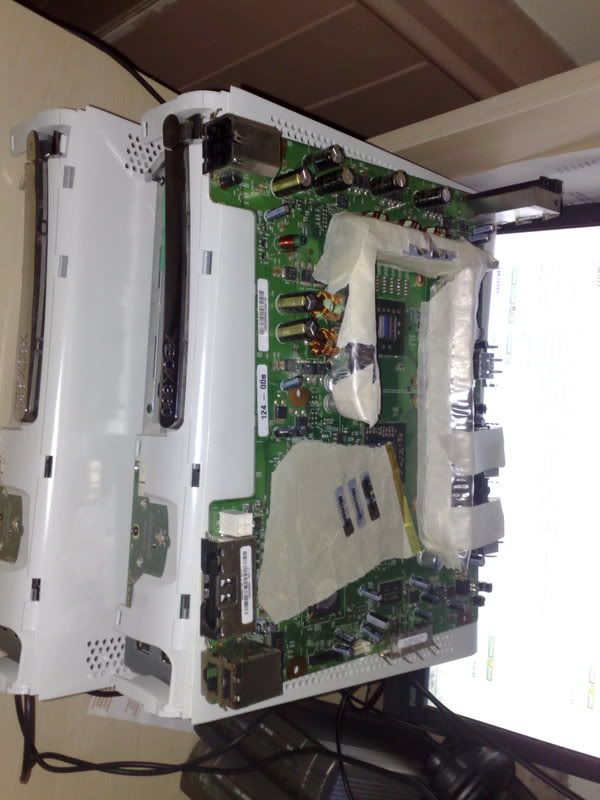
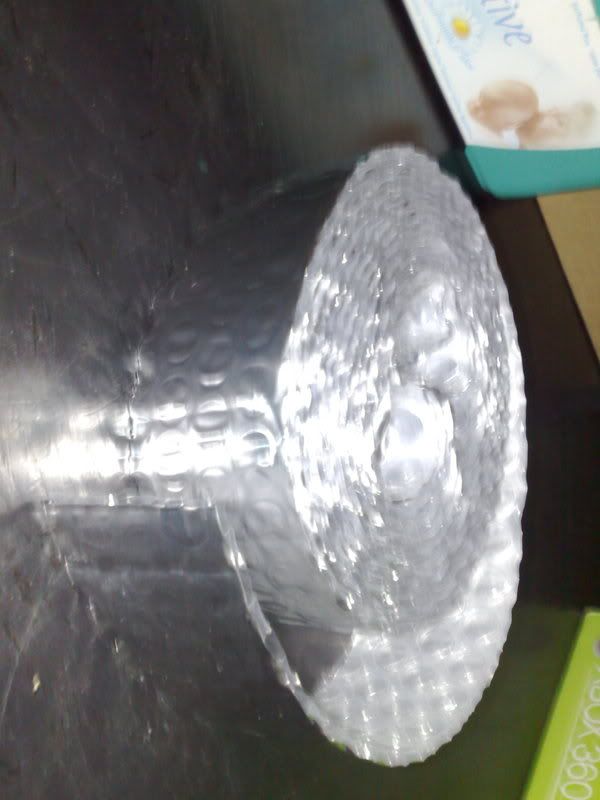
heatgunning meathod used is vey much the same as yours but i use different materials to isolate the caps , instead of the foil plastic you use i use what we call pipe lagging . its to insulate pipes from freezing etc it is made up of a thickish foil on one side and bubble wrap on the other  


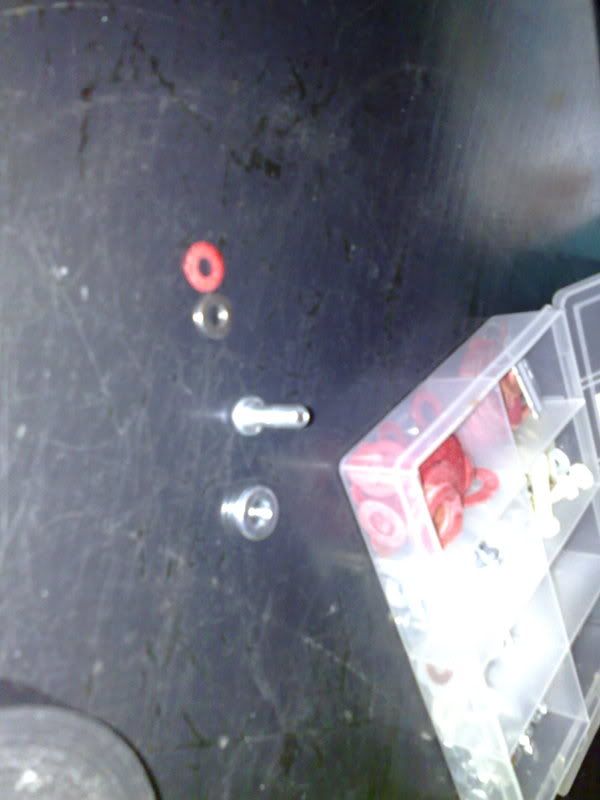
the xclamp meathod i use involves two washers the same size one thin washer and one fiber washer  a m5 x 12mm screw and a very good quality siver thermal paste correctly applied ( not to much )

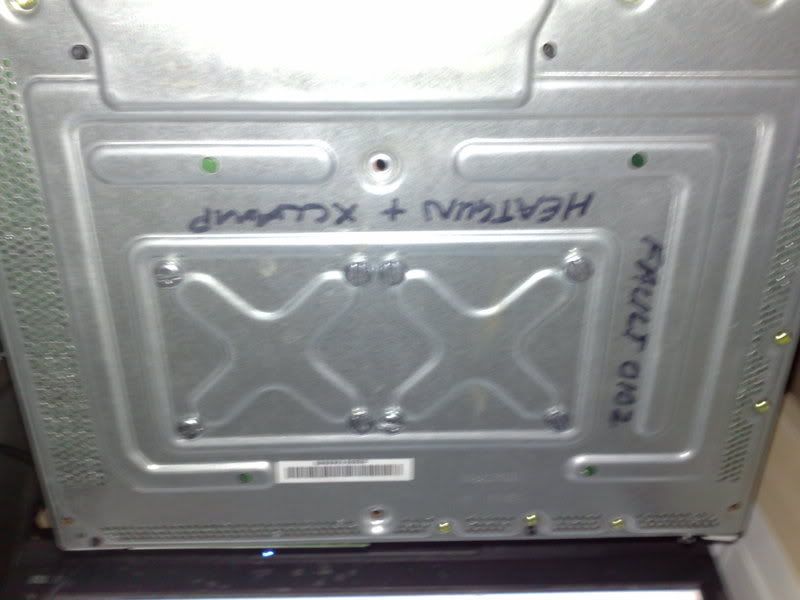
i drill the chassis from the outside to take the screw

i place all 8 screws in place on the outside of the chassis and tape them to secure them

i then place the two same size washers on the screws inside the chassis ( the are around 2 tenths of a mm lower than the original pcb resting points , very little  flex for the pcb )

i then place the pcb on top of the screws and washers

i then place the very thin metal washer om the screww and the fiber one on top ( they are the same hight as the top of the chips maybee a tiny bit over but when screwd down and compressed no flex is taking place )

this is it and i have done between 30 - 40 in 9 months and havent had one come back yet , i hope i have provided the info you need

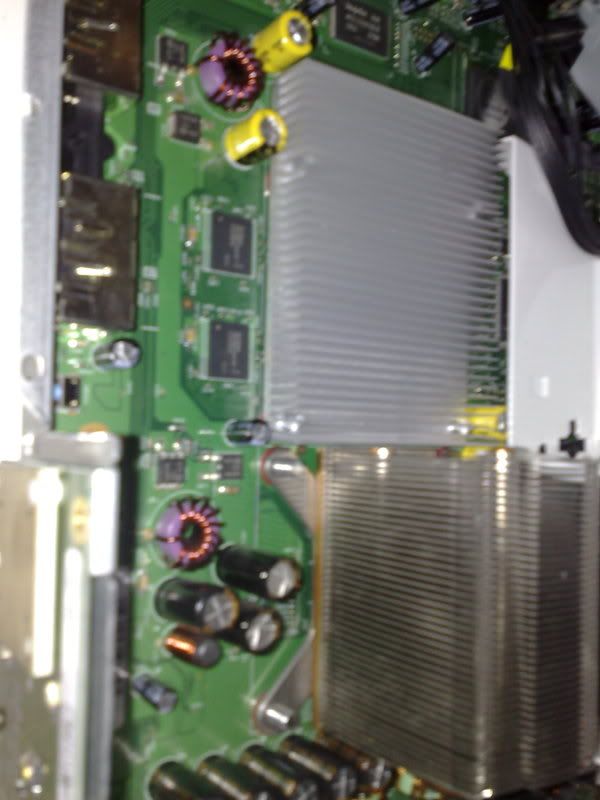
some pics of work and my box

IPB Image
IPB Image
IPB Image
IPB Image
IPB Image
IPB Image


IPB Image
IPB Image
IPB Image
IPB Image
IPB Image
Logged

frozenballs

  • Archived User
  • Full Member
  • *
  • Posts: 105
Faulty 360
« Reply #13 on: August 15, 2008, 11:06:00 AM »

so has anyone ever cleared a code 0020 or is it screwed
Logged

Wilhelm_I

  • Archived User
  • Hero Member
  • *
  • Posts: 937
Faulty 360
« Reply #14 on: August 15, 2008, 05:38:00 PM »

QUOTE(frozenballs @ Aug 15 2008, 07:42 PM) View Post

so has anyone ever cleared a code 0020 or is it screwed

Fixed a couple of these, give my credit card method a try(link in signature).
Play around with tightnesses of the screws, start with loose screws then keep tightening them until they are pretty snug.
For how long did you heatgun it by the way and what did you concentrate on?
Did you do the bottom and top and did you let it cool down properly?

In general 0020 is a bridged solder joint under CPU/GPU or RAM, often happens when you tighten the screws too much. And it can also occur if this certain area isnt powered properly,( missing capacitor or so)
Logged
Pages: [1] 2