well, after an uneventful, sad weekend, I am back to continuing this mod which seems to have taken forever. I decided to cut a window in the airscoop just for the he77 of it. Thought, "Why not add more light, I am already going to be blind looking into the thing anyways." lol.....I have so many extra scraps of lexan so figured why not go balls to the wall. I am also including some close-ups of the black paint job on my case. I have not put any clear coat on there yet, and they are still drying (this is the third coat, minor botch during second application) and the pictures are a little blurry, so bear whith me

Anywho, after the CC application I can trace the Hawk in order to begin the etching, which will be simple, unless you guys think I should completely fill in the open areas (and by that I mean "color in" the open areas of the hawk with the etching bit. Let me know
Without further adue, the pics
Airscoop (haven't painted but am going to)

Top of case
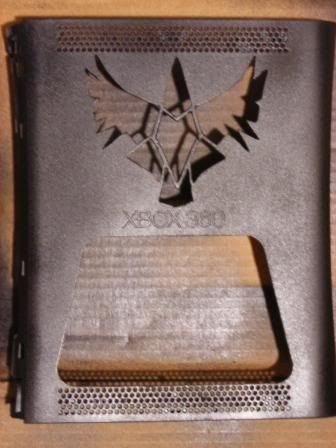
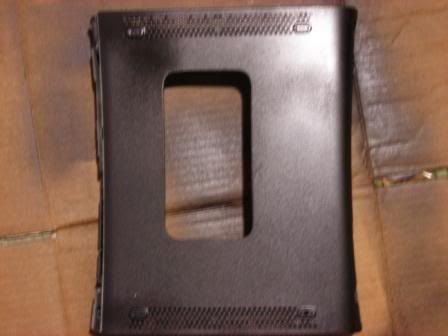
bottom
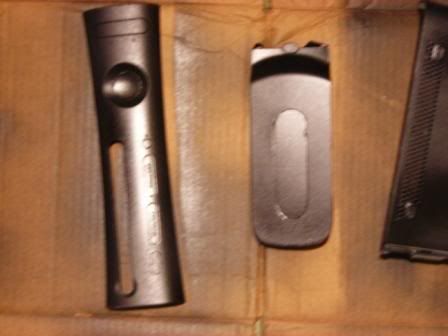
HDD and Faceplate (I covered the power button and sensor with plastic painter's tape, in order to protect the frosted plastic that will show my Blue ROFL's)
Hope you enjoy, and more to come!
-Djbizwy


 Author
Topic: "prey" Themed 360 Wip (Read 518 times)
Author
Topic: "prey" Themed 360 Wip (Read 518 times)